
My sewing/craft room has changed so much since I last wrote. I have lots more storage, thanks to some brand new furniture pieces. I was finally able to purchase some new things and they have made all the difference in the world.
Being true to my frugal nature and to my budget, I purchased items that I had to assemble myself. It was time consuming, but saved me money. I also shopped at a bargain chain; Big Lots, so that saved even more. I purchased two bookcases and two storage units that each had 9 cubbies. I had wanted white furniture, but the storage units didn't come in that color. I could have got them in white, if I was willing to go with less cubbies. To me, storage capacity was more important than color. Even at that, I couldn't get all the pieces I bought in the same color, but they were close enough.
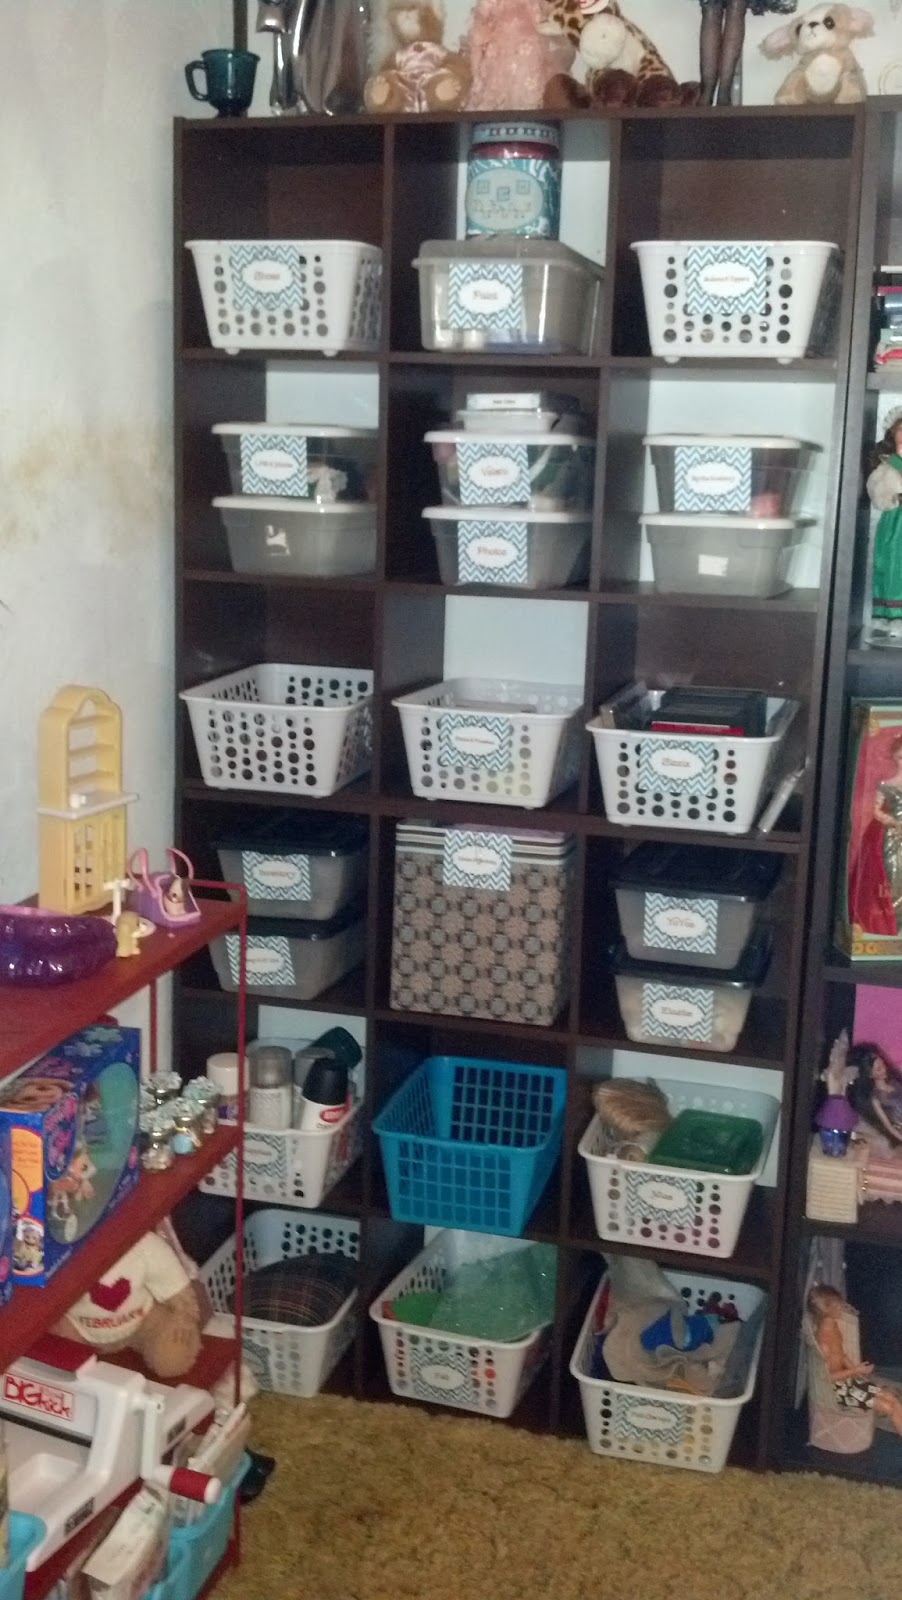
Above are the cubby units. I stacked them on top of each other to save floor space and also approximately match the height of the bookcases. Originally I was going to make fabric boxes to fill each space, especially after I saw the price of the ready-made ones. When I thought about how long it would take to make boxes for 18 spaces, I came up with another option. I decided to use plastic baskets and boxes from the Dollar Tree. Additionally, I added a fabric covered box (self made) and a few tins to the mix. If needed, I can actually fit a plastic shoe box under each of the baskets, adding even more space.
To keep everything neat and easy to find, I labeled everything with these great labels that I found on Pinterest.

Next to the cubby units, I put two bookcases with adjustable shelving. This came me room for more storage, plus display space for my dolls.


This just about completely filled the wall, opposite my machines, up to the door. You can see my small ironing board is tucked in there on the floor for now.
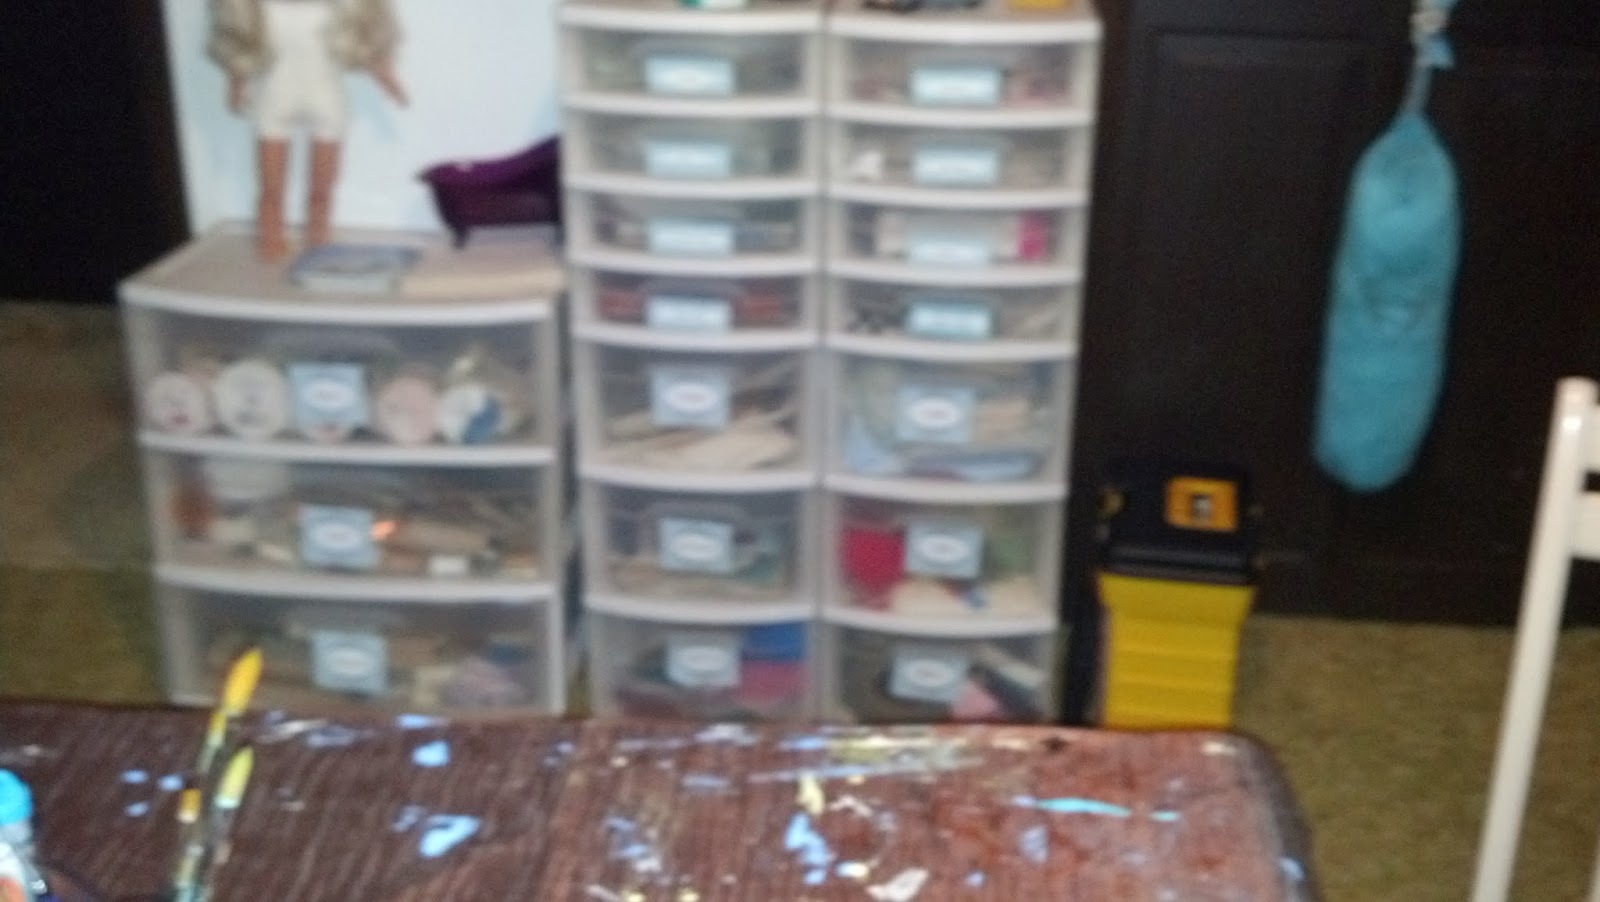
I also reorganized my white plastic drawer units and relabel them in a uniform manner as well.

For another trash to treasure idea, here's another item I made.


There is still so much more to be done, but I am thrilled with the recent progress. The room is really starting to coming together and is becoming more functional and beautiful every step of the way.
Happy 2014!