I had my machines on the longest wall of the room when I first moved in. That was all well and good, but it wasn't the best use of space. Next, I moved them to a shorter wall with a window on it, but that wasn't quite right either, so it was time to move them again. This is how it looked:

Basically, the layout worked ok, but I knew I could make it better, more efficient and effective. I realized that my threads were not near the machines that they belonged with. That meant I was constantly going back and forth and up and down to get what I needed. I had to figure out how to put the different types of thread near each machine they belonged with.
I started by moving the small table with the serger on it back to the long wall that it was originally on. I put the set of rolling drawers, that holds all my serger thread, right next to the machine.
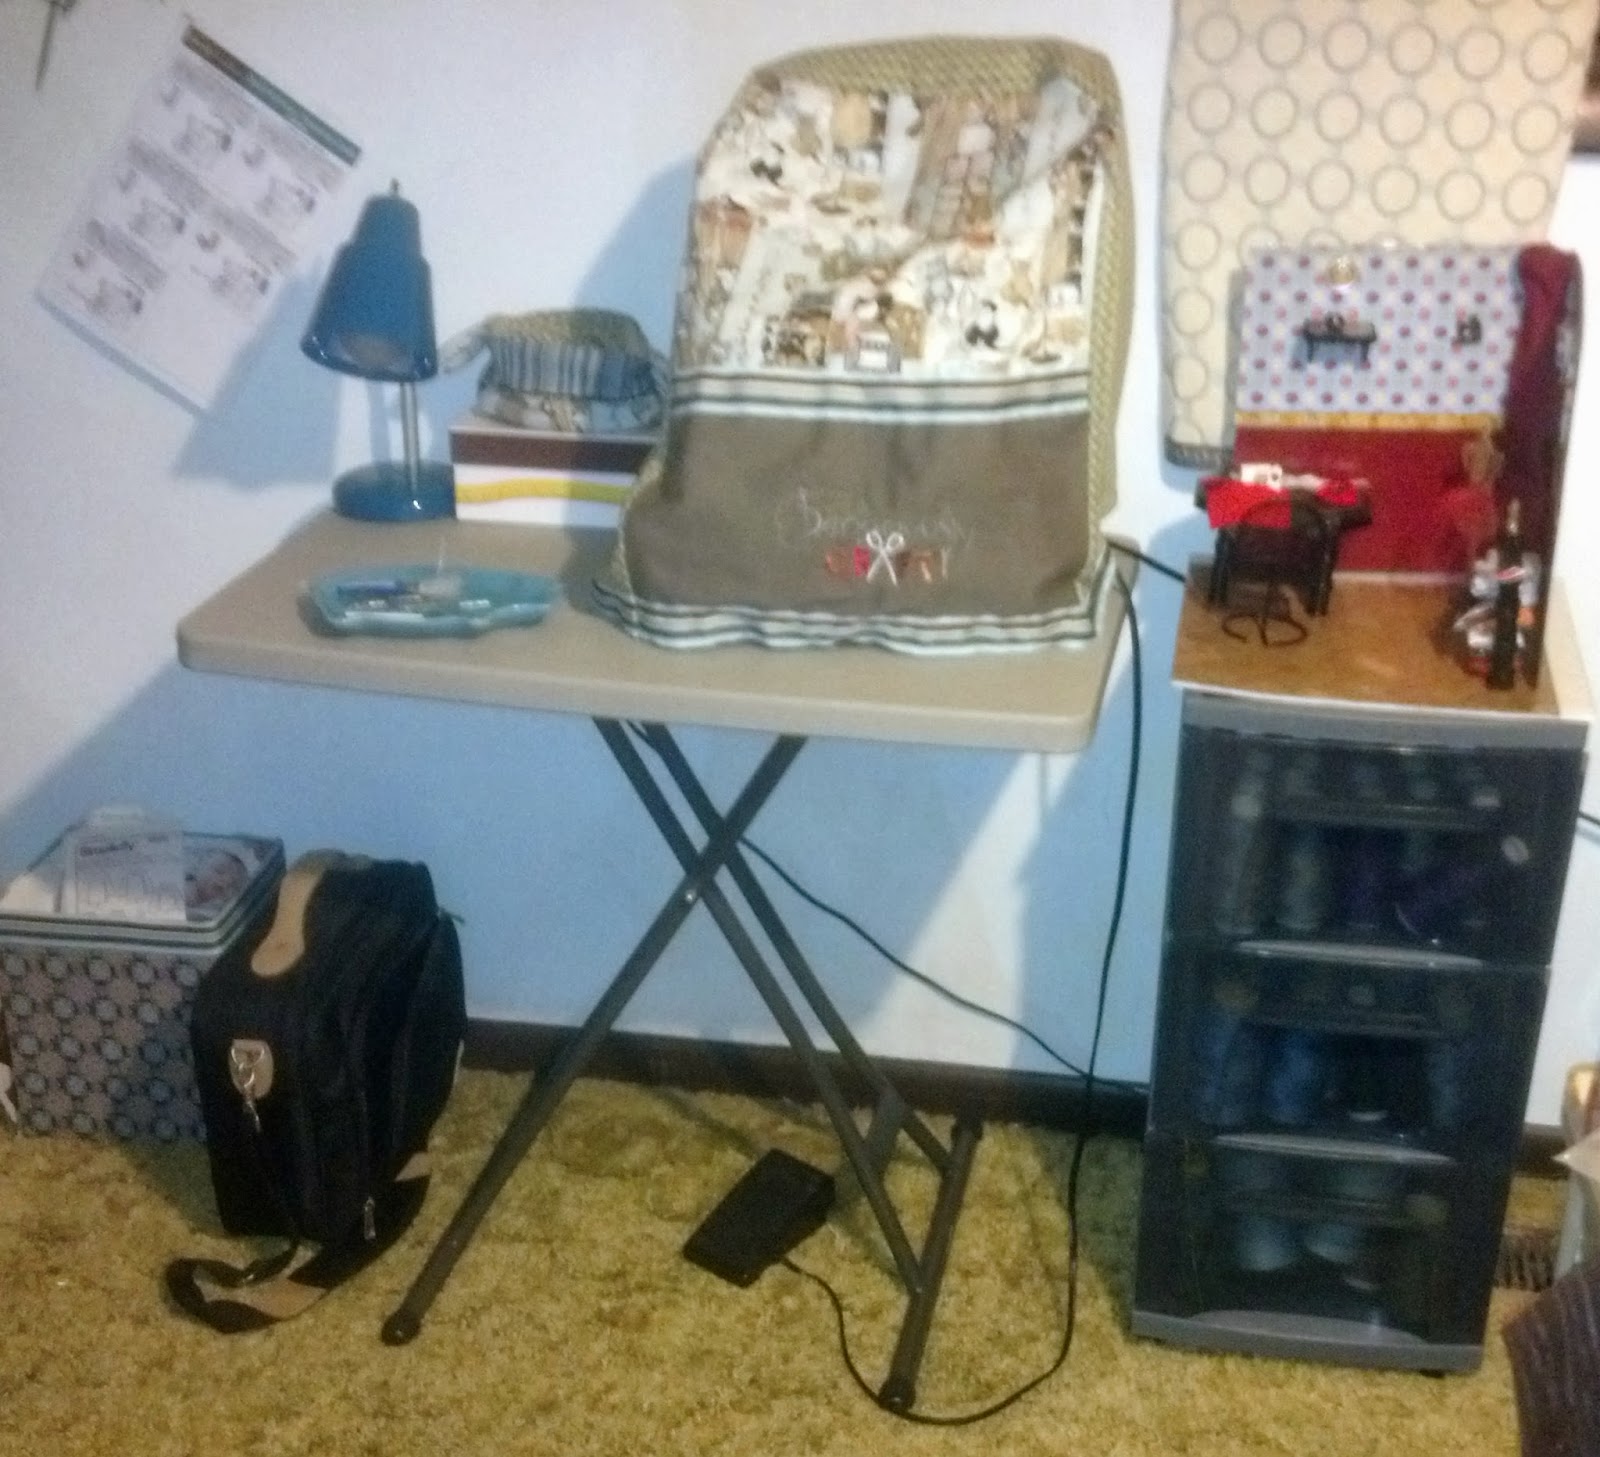

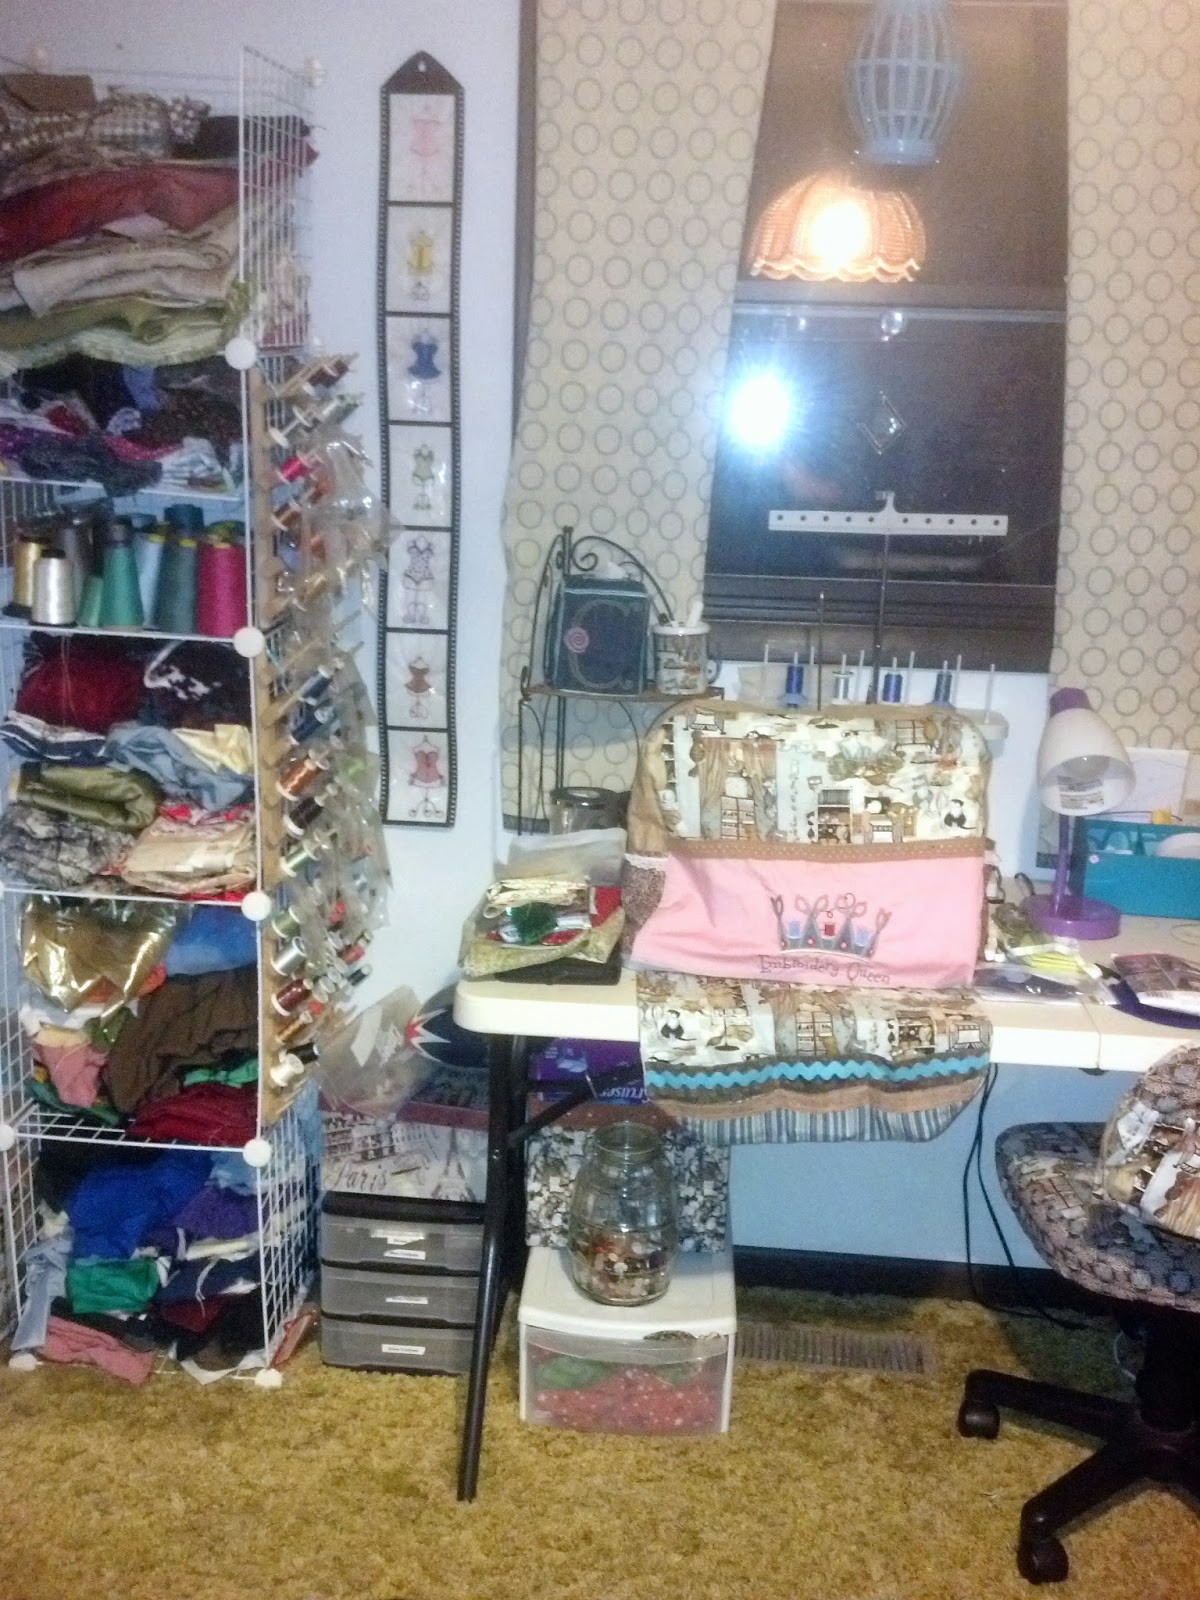
Back to the matter at hand. I have a tower of baskets, that I use to store various things and I put that in the corner. I left the long table, with the sewing and embroidery machines, in approximately the same place it was.

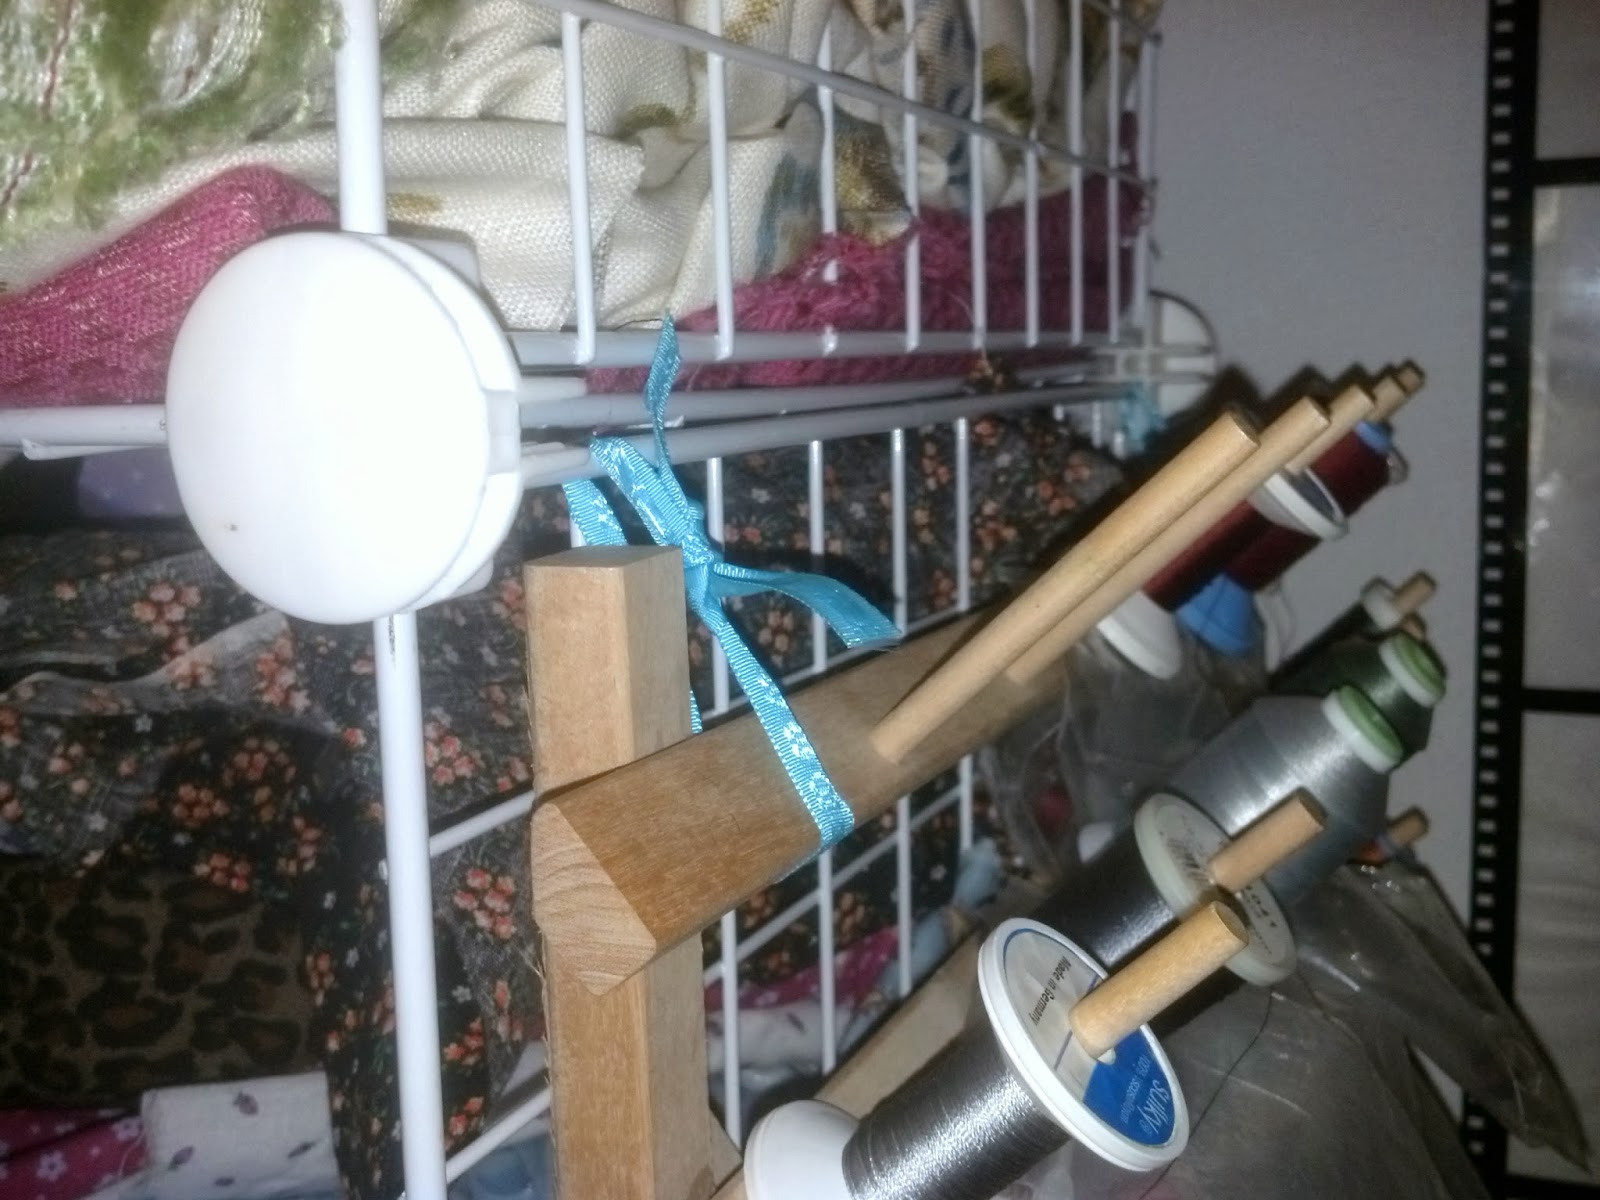
I also hung my sewing scissors and pinking shear on the empty pegs at the bottom of the thread rack. It keeps them handy.
I wanted to keep the wire cubes stacked next to the table, mainly because I had no other place to put them. That left me with the problem of where to put the three racks of embroidery thread. I also cones of embroidery thread, which posed their own storage issue. I got creative and found a way to hang the racks on the wire cubes. I simply used pretty ribbon and tied the racks to the side of the cubes.
While moving things, I decide that the wire cubes were in desperate need of being sorted. I decided to make one tall tower rather than having a tall one with a shorter one attached. This freed up some floor space. I have two cubes of solid fabrics, a cube of prints, a cube of prints to make doll clothes and the top has home decor fabrics. I still have fabrics in the closet in laundry baskets and just stacked on the floor, but that will have to wait until I have the funds for more shelving.
When I put the doll related fabrics in the cube, it didn't take up much room in the cube. I got creative again with the ribbon. I tied one the the wire grids in to form a shelf in the cube. I was able to put the cones of embroidery thread in the cube with the doll fabrics above it it. I had to use the grid that would have been on the top of the tower. I just left that cube ope and I was able to stack more fabrics in.

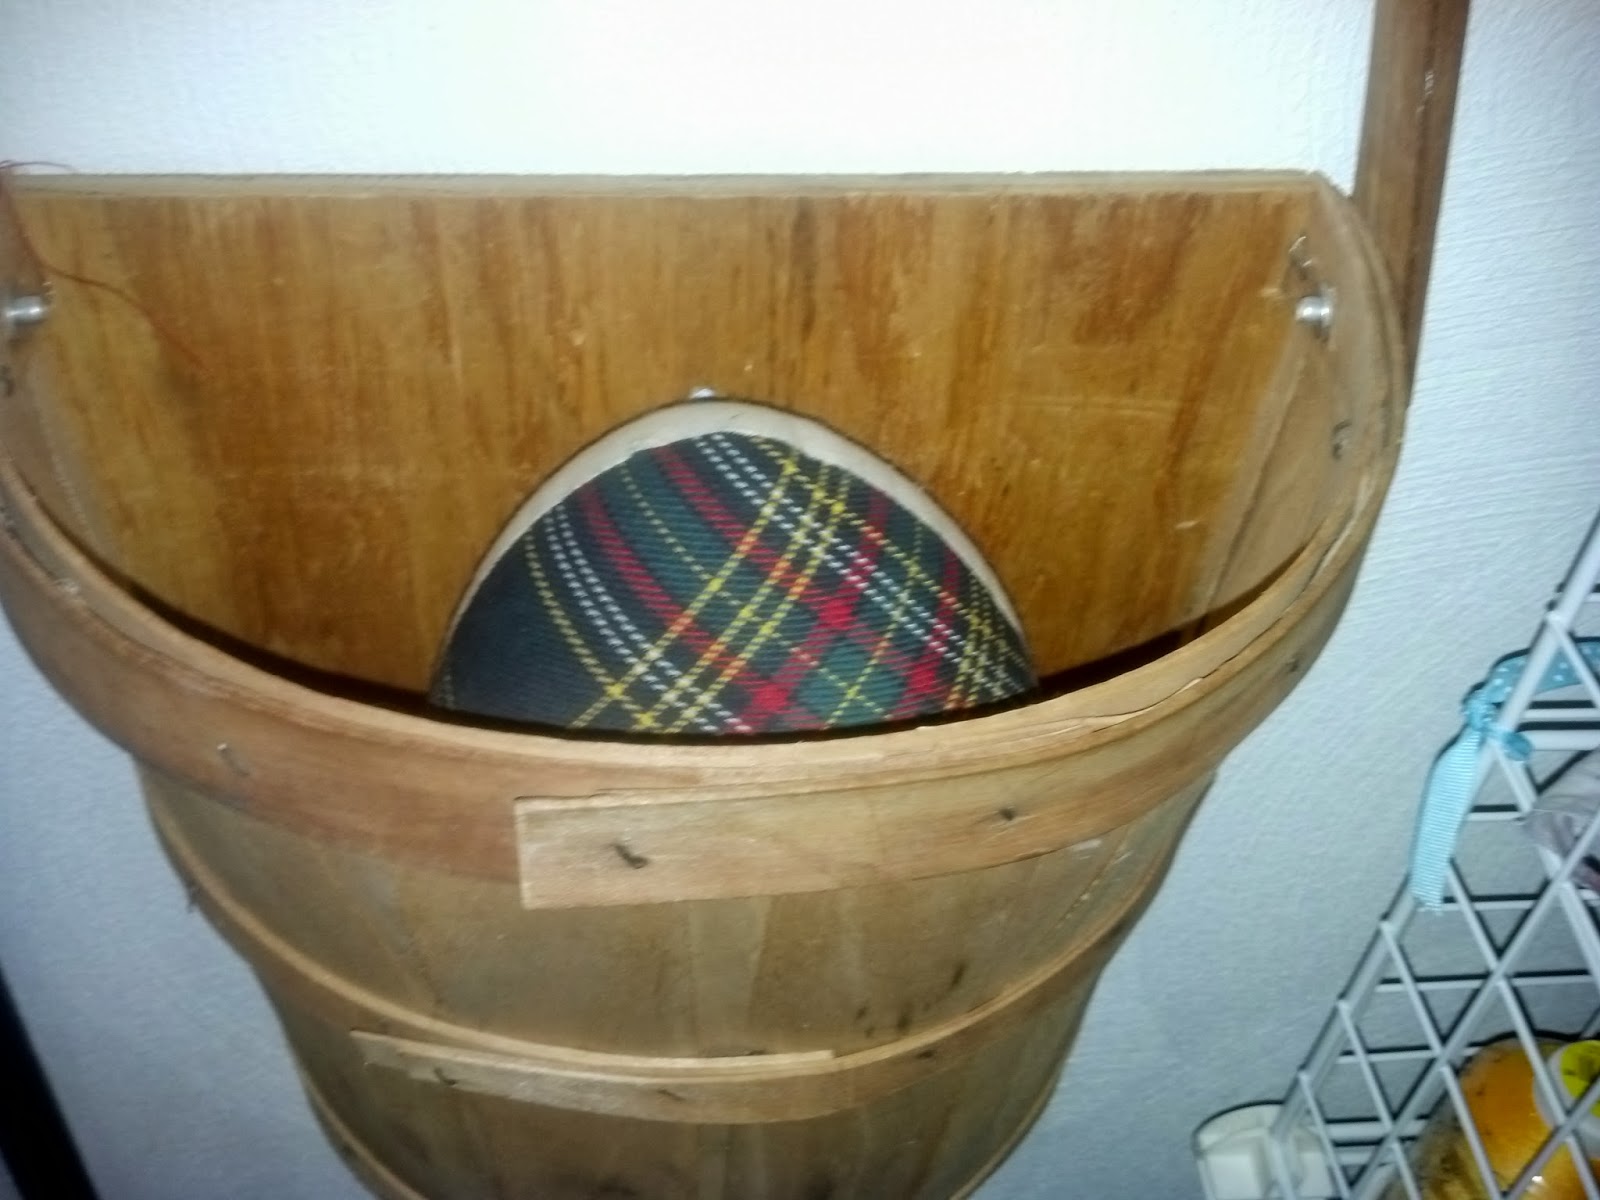
To the left of the wire cubes, there is a basket hung on the wall.

On the corner of the table, I put a small tiered shelf that holds a jar of safety pins, a fabric basket with packages of hand sewing needles, a box of tissues and a mug with tweezers and small screwdrivers. The shelf gave me a space for quite a few things, in a small footprint.
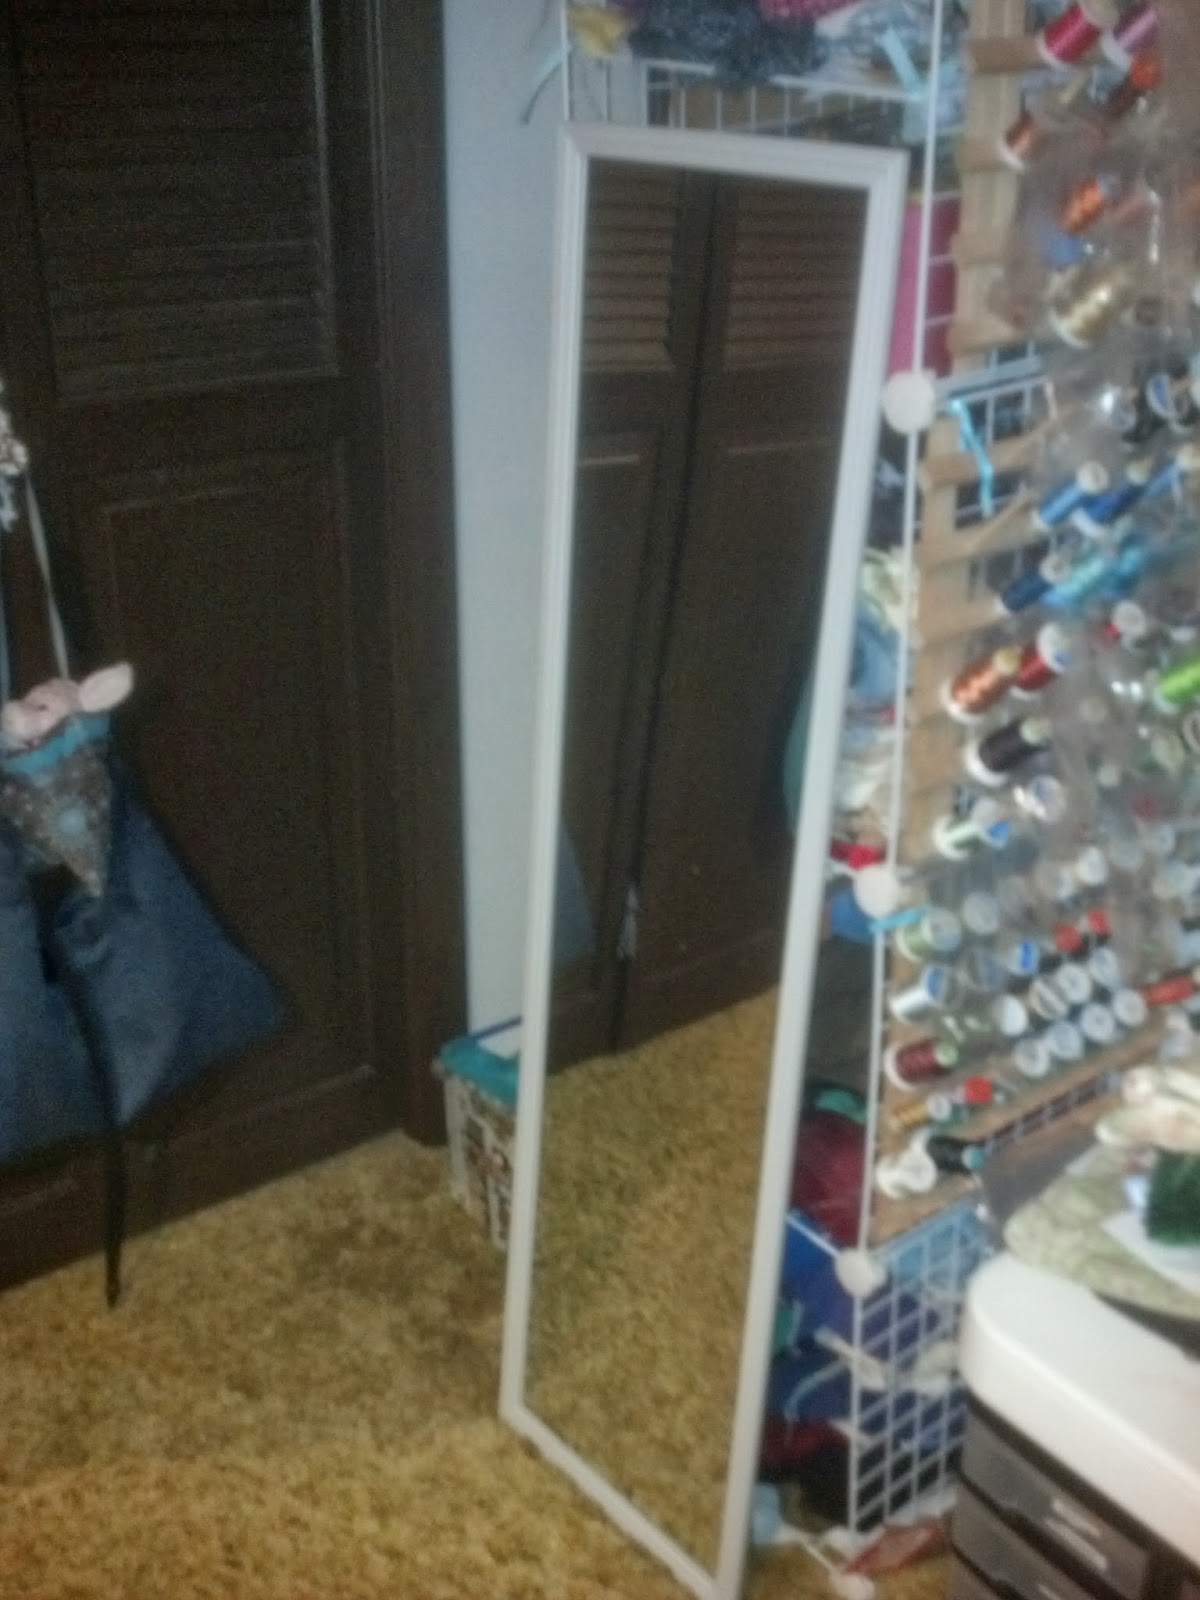
Normally, I put my full length mirror in front of the wire cubes.It keeps it out of the way and there is plenty of room in front of it to make it useable.
Do you remember the wine box I had and didn't know what to do with it?

Blythe - The Big Eyed Girl